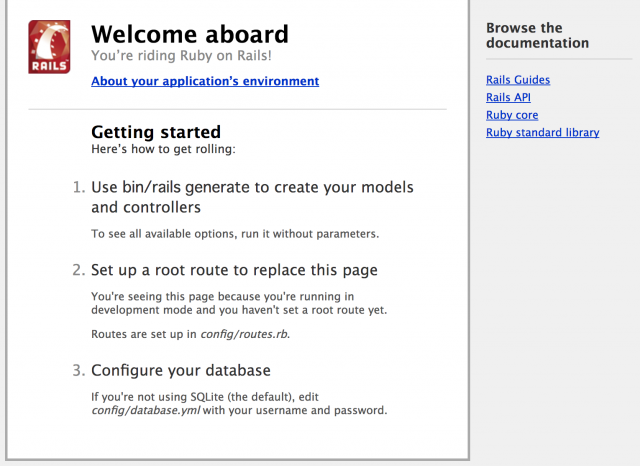
Railsアプリ(ruby 2.3.3 / rails4.2.7)の新規プロジェクト立ち上げ手順。
作業ディレクトリを作る。
$ mkdir APP_NAME
$ cd chAPP_NAMEenv
rubyのリストを更新する。
$ brew update
$ brew upgrade ruby-build
Rubyのバージョンを指定してインストールする。
$ rbenv install --list
$ rbenv install 2.3.3
$ rbenv local 2.3.3
$ rbenv versions
$ ruby -v
ruby 2.3.3p222 (2016-11-21 revision 56859) [x86_64-darwin15]
bundler を初期化してGemfileを作る。
$ bundle init
rbenv: bundle: command not found

The `bundle' command exists in these Ruby versions:
:
bundlerはrubyのバージョンごとに管理されているので、bundlerを新規にインストールする。
$ gem update bundler
$ gem install bundler
再度、bundler を初期化してGemfileを作る。
$ bundle init
Writing new Gemfile to /Users/ogaworks/Desktop/rrdev/chkenv/Gemfile
GemfileでRailsのバージョンを指定してコメントアウトする。
$ vi Gemfile

# frozen_string_literal: true
source "https://rubygems.org"
gem "rails", '4.2.7'
bundler 経由で rails をインストール。
–path vendor/bundle を指定し、gemをrailsプロジェクト毎に管理する。
–jobs=4 を指定するとbundle installを並列処理で実行できる。
$ bundle install --path vendor/bundle --jobs=4
rails new でプロジェクトを作成する。
オプションを確認
$ bundle exec rails new -h
プロジェクトローカルのgemを使う
bundle install をしない(–skip-bundle / -B)
Test::Unit を使用しない(–skip-test-unit / -T)
DBはmysqlを使用する
turbolinksを使用しない
$ bundle exec rails new . -B -T -d mysql --skip-turbolinks
既存のGemfileを上書きしてもいい?は「 Y」。
これでrails new完了。
vendor/bundle配下をgitで管理しないため他諸々で、.gitignoreを編集する。
$ vi .gitignore

# Ignore bundler config.
/.bundle

# Ignore bundler gems.
vendor/bundle

# Ignore the default SQLite database.
/db/*.sqlite3
/db/*.sqlite3-journal

# Ignore all logfiles and tempfiles.
/log/*.log
/tmp

# Ignore other unneeded files.
doc/
*.swp
*~
.project
.DS_Store
.idea
.secret
config/database.yml
config/secrets.yml
Gemfileに必要なものを追加
gem 'haml-rails'
gem 'rspec-rails'
gem 'factory_girl_rails'
gem 'puma'
インストール。
bundle install
Rspec初期設定
$ bundle exec rails generate rspec:install
FactoryGirlの設定
# in spec/rails_helper.rb

RSpec.configure do |config|
config.include FactoryGirl::Syntax::Methods
end
後は適当に必要なgemを入れて bundle install。
$ bundle install
generatorの設定。
# config/application.rb
  class Application < Rails::Application
:
    config.generators do |g|
      g.template_engine :haml
      g.test_framework :rspec, view_specs: false, fixture: true
      g.fixture_replacement :factory_girl, dir: 'spec/factories'
    end
  end
pumaが入っていなければ設定。
$ brew install puma/puma/puma-dev
$ sudo puma-dev -setup
$ puma-dev -install
puma設定
$ cd PATH/APPLICATION_NAME
$ puma-dev link -n APPLICATION_NAME
$ touch /tmp/restart.txt
pumaが動かない場合 ( unexpected exit )
$ tail -f ~/Library/Logs/puma-dev.logMySQLのDBを作成
$ bundle exec rake db:create
$ mysql APPNAME_development -u root -p
master ブランチにコミット
$ bundle install
$ git init
$ git add .
$ git commit
railsコマンドやrakeするときは bundle exec を付ければ、プロジェクトローカルのgemで実行される。
アプリケーション毎のbundlerの設定
$ bundle config
トップページをgenerate
$ rails g controller top indexルーティングを設定
# config/routes.rb
root 'top#index'
リスタート
$ touch tmp/restart.txtお疲れさまでした!

コメントを残す